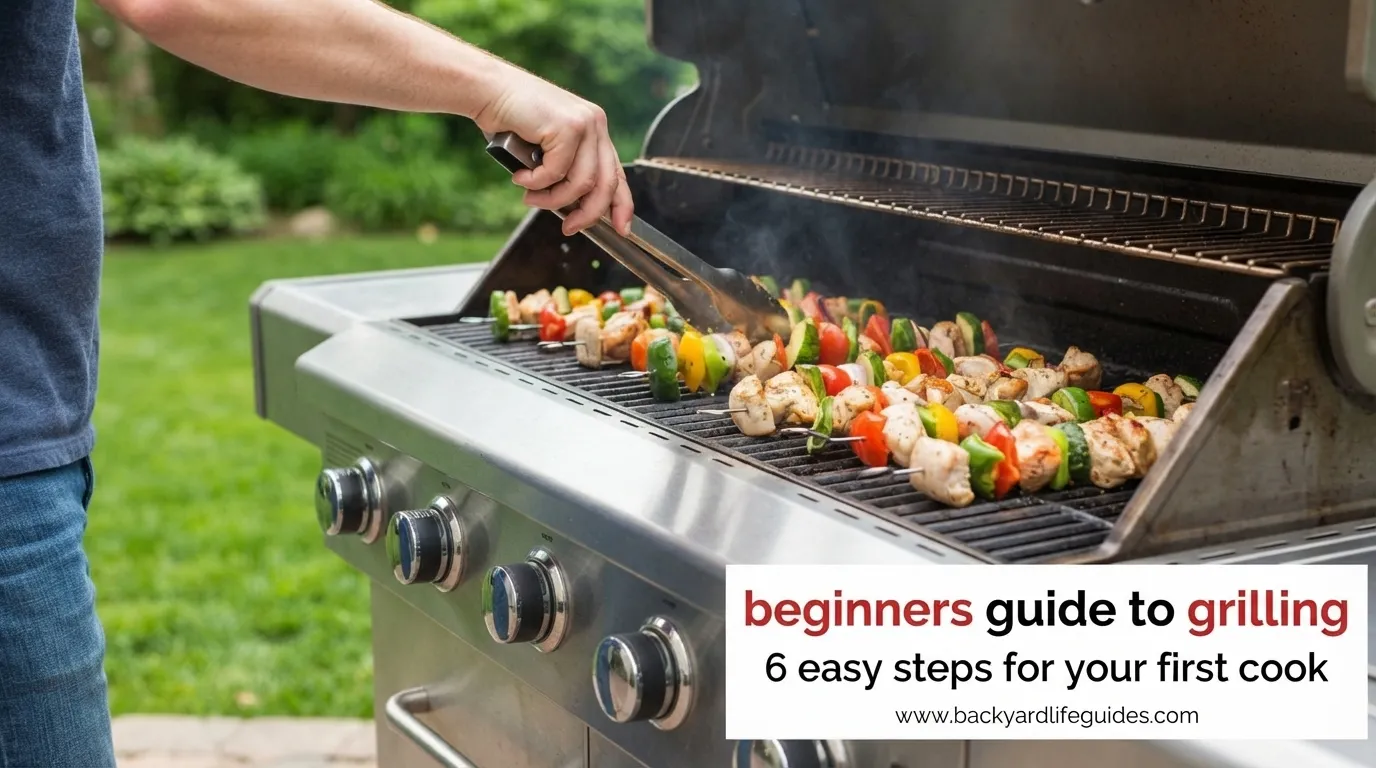
Beginners Guide to Grilling: 6 Easy Steps for Your First Cook
- Disclosure: This post may include affiliate links. If you click a link and complete a purchase, I may earn a commission. Additionally, as an Amazon Associate, I earn from eligible purchases.
Grilling can feel complicated when you’re looking at charcoal, burners, vents, cooking temperatures, tools, and different types of food all at once. The good news is that you do not need years of experience to make a good first meal.
The key is to follow a simple order: choose the right grill, prepare it correctly, create the right heat zone, cook with control, check doneness, and clean up afterward.
This beginner’s guide brings those fundamentals together in one practical workflow. It also includes useful cooking times, equipment recommendations, charcoal-lighting steps, and simple answers to common first-time grilling questions.
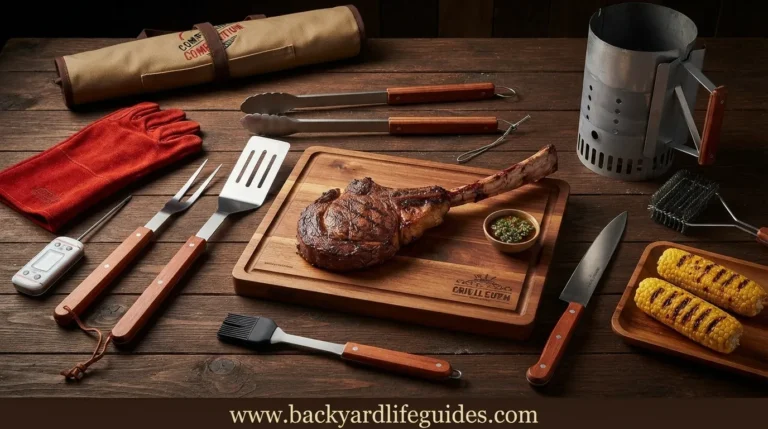
Essential Grilling Tools for Beginners
You don’t need a huge collection of equipment. A small group of reliable tools can handle most beginner tasks.
1. Long-Handled Tongs
Use tongs to turn and move food without putting your hands close to the heat.
2. Spatula
A spatula is especially useful for burgers and delicate foods such as fish.
3. Meat Thermometer
A thermometer removes much of the guesswork from grilling. Instead of judging doneness only by appearance, you can check the food directly.
4. Grill Brush
A grill brush helps remove cooked-on residue from the cooking grate before or after grilling.
5. Basting Brush
Use a basting brush to apply sauces or other coatings during cooking.
6. Chimney Starter
For charcoal grilling, a chimney starter provides a practical way to light charcoal without depending on lighter fluid.
7. Aluminum Foil
Foil is useful for protecting delicate food and handling certain grilling tasks.
8. Timer
A simple timer helps beginners keep track of cooking periods without relying on memory.
9. Heat-Resistant Gloves or Hot Pads
These provide additional protection when handling hot grill components.
10. Grill Basket or Skewers
These can make smaller foods and vegetables easier to manage.
Beginner tip: If you only buy a few things first, prioritize tongs, a thermometer, a grill brush, and a suitable lighting tool.
How to Prepare Your Grill Before Cooking
Preparation is one of the easiest ways to improve your first grilling experience.
Step 1: Put the Grill in a Safe Location
Place the grill on a stable surface and keep it away from flammable objects and overhead hazards such as branches.
Keep the manufacturer’s instructions available, particularly when you are learning how your grill operates.
For propane grills, pay particular attention to the fuel tank and valve. Proper fuel handling should always come before cooking.
Step 2: Clean the Cooking Grate
A dirty grate can cause food to stick and can make the cooking surface harder to manage.
Heat the grill, then use an appropriate grill brush to remove residue.
Different grate materials may require different brushes. For example, a steel or cast-iron surface can be treated differently from a porcelain-coated surface.
Step 3: Preheat the Grill
Preheating gives the cooking surface time to become properly hot.
For gas or propane grills, the beginner guidance in the material commonly uses approximately 10–15 minutes with the lid closed, or until the desired cooking temperature is reached.
For charcoal, look for coals that have developed a gray or white ash appearance rather than relying only on the clock.
A properly heated grate also makes it easier for food to release when it is ready to turn.
How to Light a Charcoal Grill
Charcoal grilling becomes much easier when you break it into a few simple stages.
The 6-Step Charcoal Method
- Remove or open the cooking grate according to your grill design.
- Arrange the charcoal in the appropriate area or place it in a chimney starter.
- Light the charcoal using your chosen starter method.
- Wait for the coals to develop a gray or white ash appearance.
- Distribute the hot charcoal to create your desired cooking zone.
- Replace the cooking grate and allow it to heat before adding food.
A chimney starter can simplify the process. One beginner method fills the chimney approximately halfway before lighting it.
Another important timing reference is that charcoal may require approximately 30–45 minutes in some beginner setups before it is fully ready, followed by approximately 10–15 minutes for the cooking grate to heat.
The visual condition of the charcoal matters more than blindly following a timer.
Understanding Direct and Indirect Heat
This is one of the most important concepts for a new griller.
Direct Heat
With direct heat, food sits directly over the heat source.
It works particularly well for foods that cook relatively quickly, including:
- Steaks
- Burgers
- Sausages
- Some vegetables
- Fish
The goal is usually to develop browning, grill marks, and a flavorful exterior.
Indirect Heat
With indirect heat, the food is positioned away from the main heat source.
This is useful for foods that need more time to cook through without burning the outside.
Examples include:
- Chicken
- Ribs
- Roasts
- Larger pieces of meat
Think of indirect grilling as creating an oven-like area inside the grill.
Why a 2-Zone Grill Setup Helps Beginners
A 2-zone setup gives you a hot area and a cooler area at the same time.
For charcoal, place the hot coals on one side and leave the other side without direct charcoal underneath.
For a gas grill, light burners on one side while leaving another section unlit or at a lower setting, depending on the grill design.
This gives you somewhere to move food if:
- Flames suddenly rise.
- The exterior is cooking too quickly.
- The center needs more time.
- You want to finish thicker food more gently.
Instead of fighting the fire, you can simply move the food between zones.
| Situation | Better zone |
|---|---|
| Quick searing | Direct |
| Browning burgers | Direct |
| Cooking vegetables quickly | Direct |
| Finishing thick chicken | Indirect |
| Cooking ribs | Indirect |
| Managing flare-ups | Indirect/cool side |
When Should You Keep the Grill Lid Open or Closed?
The lid changes how heat moves around the food.
For thinner foods, an open lid can make it easier to watch the cooking process.
For thicker foods and indirect cooking, closing the lid helps retain heat and allows the grill to work more like an oven.
One gives 3/4 inch as a useful thickness reference: foods at or below this thickness can generally be monitored more easily with the lid open, while thicker foods benefit more from a closed lid.
The exact approach can vary with the grill and food, but the important beginner lesson is simple:
Thin and fast: monitor closely.
Thick and slow: use controlled heat with the lid closed.
Beginner Grilling Cooking Times
Cooking time depends on food thickness, grill temperature, starting temperature, and the grill itself. Therefore, times should be treated as starting guides rather than guarantees.
| Food | Heat approach | Approximate time |
|---|---|---|
| Steak | High, direct | 9–12 minutes |
| Burger | Medium-high, direct | 8–10 minutes |
| Pork chop | Medium, direct | About 12 minutes |
| Chicken breast | Medium, indirect | 20–25 minutes |
| Sausage | Medium, indirect | About 25 minutes |
| Salmon fillet | High, direct | About 10 minutes |
For food safety, do not rely on cooking time alone. A meat thermometer is a much better way to determine whether food is properly cooked.
How to Know When Food Is Ready to Turn
One common beginner mistake is trying to move food too early.
If properly prepared food sticks to the grate, don’t immediately force it loose.
Give it another 1–2 minutes, then try again.
Once the exterior has developed a proper crust, the food often releases more easily.
Want Crosshatch Grill Marks?
For a simple crosshatch pattern:
- Place the food at approximately a 45° angle.
- Allow the first grill marks to develop.
- Rotate the food approximately ¼ turn.
- Continue cooking.
You don’t need to repeatedly flip food just to check it. Let the grill do its work.
How to Avoid Burning the Outside
A classic beginner problem is food that looks finished outside while remaining undercooked inside.
This usually becomes more likely when thick food is exposed to intense direct heat for too long.
The solution is not necessarily to lower the temperature everywhere.
Instead:
- Start thicker food over direct heat if you want browning.
- Move it to the indirect zone to finish.
- Close the lid when appropriate.
- Check the center with a thermometer.
- Move food away from sudden flare-ups.
This is where a 2-zone setup becomes especially useful.
How to Handle Sauces
Sauces containing sugar can burn when exposed to high heat for too long.
For that reason, add sugary sauces closer to the end of cooking rather than coating the food heavily at the beginning.
The beginner timing guidance includes applying sauce during approximately the last 5 minutes.
For cheeseburgers, cheese can be added during roughly the last 1 minute so it has time to melt without unnecessarily extending the cooking period.
Easy Foods for Your First Grill
Your first meal does not need to be complicated.
Beginner-Friendly Proteins
Consider:
- Burgers
- Chicken
- Sausages
- Brats
- Pork chops
- Salmon
Vegetables and Sides
Simple choices include:
- Corn on the cob
- Potatoes
- Vegetable kabobs
- Seasonal vegetables
Foods for a More Adventurous First Cook
Once you’re comfortable with basic heat control, you can experiment with:
- Grilled pineapple
- Grilled pizza
The goal of your first cook is not to demonstrate advanced technique. It is to understand heat, timing, movement, and doneness.
A Simple 6-Step First-Grill Workflow
If all the information above feels like too much, use this shorter process.
1. Prepare
Clean the grill and collect your tools before lighting it.
2. Preheat
Give the grill enough time to become properly hot. Gas and propane commonly need around 10–15 minutes.
3. Build Heat Zones
Create direct and indirect areas whenever your grill allows it.
4. Start Cooking
Put fast-cooking foods over direct heat and thicker foods where they can cook more gradually.
5. Check Doneness
Use your thermometer instead of relying only on color or a timer.
6. Clean
After cooking, remove residue while the grill is still suitable for cleaning, then shut down the grill safely.
This six-part routine is enough to give a beginner a repeatable system instead of a collection of disconnected tips.
Grilling Safety Rules Beginners Should Remember
Grilling is enjoyable, but fire and fuel require attention.
Before Lighting
- Make sure the grill is stable.
- Keep combustible materials away.
- Open the lid when lighting according to the grill’s operating instructions.
- Check fuel connections where applicable.
- Keep suitable fire-safety equipment nearby.
While Cooking
- Keep children away from the immediate cooking area.
- Use long-handled tools.
- Avoid unnecessary movement around the hot grill.
- Watch for flare-ups.
- Keep the grill under supervision.
After Cooking
For gas or propane grills:
- Turn off the burners.
- Shut off the appropriate fuel supply according to the grill’s instructions.
- Allow the grill to cool.
For charcoal:
- Close the vents when shutting down if your grill design calls for it.
- Do not handle ash or charcoal while it remains hot.
- Make sure the grill is completely cool before disposing of ash.
Safety comes before convenience.
How to Clean the Grill After Cooking
Cleaning doesn’t need to become a long project.
A simple routine is:
- Finish cooking.
- Allow the grill to burn off suitable residue when appropriate.
- Turn the grill off.
- Allow it to cool enough for safe handling.
- Brush the grate.
- Remove ash from charcoal grills when completely cool.
- Store the grill properly.
One beginner method recommends approximately 15 minutes of high-heat burn-off before turning the grill off.
Do not rush the ash-removal process. Hot charcoal can remain dangerous long after the visible flames disappear.
Common Beginner Grilling Mistakes
Cooking Without Preheating
A cold grate can contribute to sticking and uneven cooking.
Better approach: Give the grill approximately 10–15 minutes when using the gas/propane preheating method described above.
Using Only One Heat Zone
A single hot area leaves you with nowhere to move food when flames rise.
Better approach: Create a direct and indirect zone.
Guessing Doneness
Color alone isn’t a reliable substitute for checking the center.
Better approach: Keep a thermometer nearby.
Flipping Too Much
Constantly moving food can make it harder to develop a good exterior.
Better approach: Let the food cook before turning.
Adding Sauce Too Early
Sugary sauces can burn over strong heat.
Better approach: Add them closer to the end, around the final 5 minutes as a practical starting point.
Forgetting the Grill Grate
A dirty grate can cause sticking and poor cooking results.
Better approach: Clean and prepare the grate before cooking.
Frequently Asked Questions
What is the easiest grill for a beginner?
A gas or propane grill is generally the simplest option for beginners because heat can be adjusted with controls. Charcoal is a good choice if you want to learn traditional fire and smoke management.
How long should I preheat a grill?
For gas or propane, the beginner guidance uses approximately 10–15 minutes with the lid closed. Charcoal requires waiting until the coals are properly lit and covered with gray or white ash.
What are the most important grilling tools?
Start with long-handled tongs, a thermometer, a grill brush, and a suitable charcoal starter or lighting method. A spatula, basting brush, timer, and heat-resistant gloves are useful additions.
What is direct heat grilling?
Direct heat means the food sits directly over the heat source. It is useful for foods such as burgers, steaks, sausages, and other relatively fast-cooking foods.
What is indirect heat grilling?
Indirect heat places food away from the primary heat source. It is particularly useful for thicker foods that need additional time to cook without burning the outside.
Why should beginners use two heat zones?
A 2-zone setup gives you a hot cooking area and a cooler area. If food starts cooking too quickly or a flare-up occurs, you can move it away from the direct heat.
How long should I grill a burger?
The based cooking guide gives approximately 8–10 minutes for a burger over medium-high direct heat. Actual cooking time depends on thickness and grill temperature, so use a thermometer to verify doneness.
How long does chicken breast take on a grill?
The cited beginner timing is approximately 20–25 minutes using medium, indirect heat. Thickness and grill conditions can change the actual time.
When should I add barbecue sauce?
For sugary sauces, adding them during approximately the last 5 minutes can help reduce the chance of burning them over strong heat.
Why is my food sticking to the grill?
The grate may not be sufficiently prepared, or the food may simply need more time before turning. If food sticks, wait another 1–2 minutes and try again rather than forcing it loose.
Should I keep the grill lid open?
It depends on the food and cooking method. Thin foods can be easier to monitor with the lid open, while thicker foods and indirect cooking generally benefit from a closed lid.
Is a meat thermometer really necessary?
For beginners, a meat thermometer is one of the most useful tools because cooking time can vary with food thickness, grill temperature, and other conditions. It provides a more reliable indication of doneness than appearance alone.
Final Beginner Grilling Checklist
Before your first cook, make sure you can answer yes to these questions:
- Is the grill positioned safely?
- Do I know how my grill starts?
- Is the cooking grate clean?
- Do I have long-handled tongs?
- Do I have a thermometer?
- Is the grill properly preheated?
- Do I understand direct and indirect heat?
- Do I have a cooler zone available?
- Do I know approximately how long my food may take?
- Will I check doneness instead of relying only on time?
- Do I know how I will safely shut down the grill?
If the answer is yes, you’re ready to start.
Grilling becomes much easier when you stop treating it as a complicated collection of rules and start treating it as a simple heat-management process. Prepare the grill, create the right cooking zone, give the food enough time, check the result, and adjust when necessary.
Your first cook does not have to be perfect. Learn the heat, learn your grill, and improve one meal at a time.