Confidence-Fueled Techniques for Outdoor Cooking
- Disclosure: This post may include affiliate links. If you click a link and complete a purchase, I may earn a commission. Additionally, as an Amazon Associate, I earn from eligible purchases.
Outdoor cooking becomes much easier when you stop treating the fire, grill, or smoker as something unpredictable and start learning how heat, timing, fuel, and equipment work together.
Whether you are cooking over charcoal, using a gas grill, working with glowing embers, or suspending a Dutch oven over a fire, the basic goal is the same: create controllable heat and use it correctly.
The techniques below bring together practical grilling advice, smoking methods, open-fire cooking, ember cooking, and Dutch oven techniques into one straightforward guide. The focus is not simply on getting food cooked, but on making outdoor cooking more consistent, enjoyable, and safe.
Start With Heat, Not Food
One of the easiest mistakes beginners make is putting food on the cooking surface before the heat is ready.
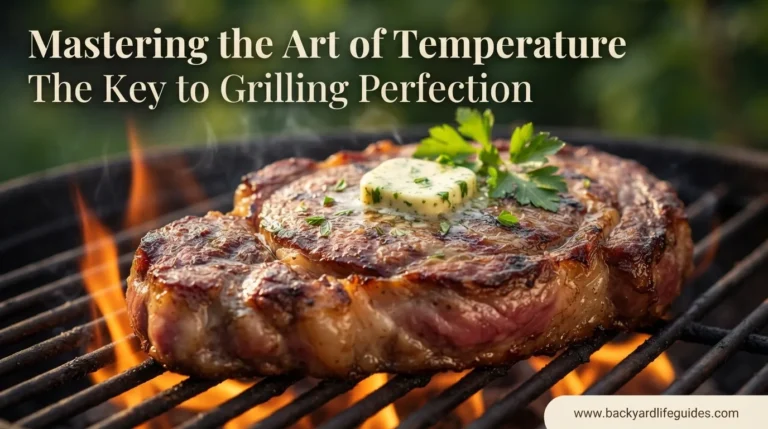
A properly prepared cooking surface gives food better contact, improves browning, and makes temperature control easier. For a gas grill, preheat on high for about 10–15 minutes. With charcoal, allow the coals to become properly hot rather than trying to cook over a fire dominated by smoke and large flames.
The same principle applies to open-fire cooking. A young fire can produce excessive flames and smoke, while established heat or embers provide more useful cooking conditions. Wild Classroom recommends allowing at least 10 minutes for a grill or Chapa to warm before cooking.
Why preheating matters
A hot cooking surface helps:
- Create better searing
- Reduce sticking
- Produce more consistent cooking
- Remove some residue from the grates
- Improve grill marks
- Give you greater control over the cooking process
Do not rush this stage. A few minutes of preparation can make the rest of the cooking process considerably easier.
7 Confidence-Fueled Outdoor Cooking Techniques
1. Preheat Before You Grill
Preheating is one of the simplest ways to improve your results.
For gas grills, allow roughly 10–15 minutes of preheating. The burners can be set high during this stage, while charcoal should be allowed to develop strong, usable heat.
Once the grates are hot, food is more likely to sear instead of sticking to a cold surface.
A hot grill also gives you a better starting point for managing different cooking zones.
Quick tip: Do not judge readiness only by looking at the flames. The cooking surface itself needs time to become hot.
2. Control the Temperature Instead of Guessing
Outdoor cooking becomes much more predictable when you monitor heat rather than relying only on appearance.
A thermometer can help you understand what is happening inside the grill or smoker. Gas grills can use separate heat zones, while charcoal cooking depends heavily on airflow and coal placement.
For open-fire cooking, moving the cooking vessel closer to or farther from the fire provides another form of temperature control.
A useful way to think about outdoor heat is:
| Heat approach | Best use |
|---|---|
| Direct heat | Thin foods and quick cooking |
| Indirect heat | Thick cuts and slower cooking |
| High-heat zone | Searing |
| Lower-heat zone | Slower cooking |
| Glowing embers | Ember cooking |
| Controlled open fire | Grilling and Dutch oven cooking |
The important lesson is simple: control the heat before trying to control the food.
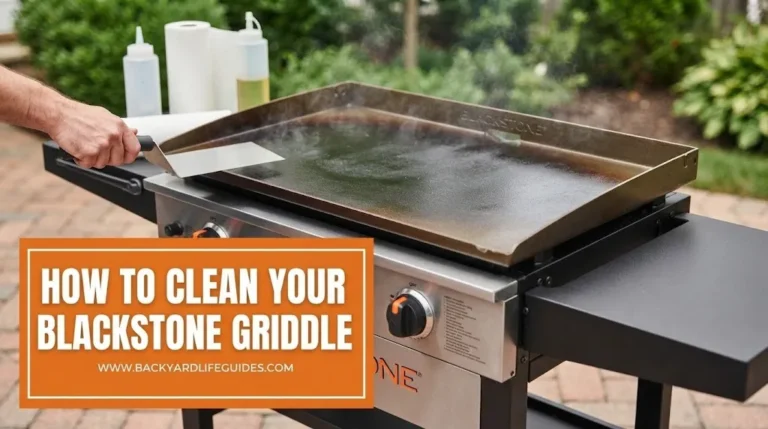
3. Keep the Grill Clean
A dirty grill can affect both cooking performance and food quality.
Food residue left on the grates can contribute to flare-ups, interfere with airflow, and create unwanted flavors. Residue can also contribute to corrosion over time.
Camping and Outdoor Life similarly recommends cleaning the grates before and after use and lightly oiling them to reduce sticking.
A basic cleaning routine should include:
- Remove major food residue.
- Brush the grates.
- Check for buildup.
- Lightly oil the cooking surface when appropriate.
- Inspect the grill before the next cooking session.
Keeping the cooking area clean is not just about appearance. It supports better heat transfer, easier cooking, and safer food preparation.
4. Stop Constantly Flipping the Food
Frequent checking can make grilling harder.
Every time you repeatedly move or flip food, you interrupt its contact with the hot cooking surface. The result can be less consistent browning and longer cooking. My Backyard Life recommends leaving meat undisturbed for a few minutes and turning it once for better contact and caramelization.
Camping and Outdoor Life gives similar advice, suggesting that food should develop its crust before being turned and that each side is generally cooked once, particularly with steaks and burgers.
Instead of constantly checking:
- Preheat properly.
- Place the food carefully.
- Give it time to develop a crust.
- Turn when appropriate.
- Use a thermometer when doneness is uncertain.
This approach gives you more control and lets the cooking surface do its job.
5. Use Indirect Heat for Slower Cooking
Direct heat is excellent when food needs quick, intense cooking. It is not always the best choice for thicker foods.
Indirect grilling places food away from the strongest direct flame, allowing it to cook more gradually. This can reduce flare-ups and excessive charring while giving thicker cuts more time to cook through.
For larger grills, create separate zones:
- High-heat zone: searing
- Lower-heat zone: slower cooking
This setup is particularly useful when you are cooking different foods at the same time.
It also gives you somewhere to move food if a flare-up becomes too aggressive.
Smoke With Purpose
Smoking adds another dimension to outdoor cooking because the process combines heat, time, airflow, and wood selection.
The basic principle is low and slow cooking. A smoker maintains controlled heat over a longer period, allowing tougher meat fibers to gradually become tender.
Choose wood according to flavor
Different woods provide different flavor characteristics.
| Wood | General flavor direction |
|---|---|
| Hickory | Bold and strong |
| Mesquite | Bold and strong |
| Apple | Sweeter and milder |
| Cherry | Sweeter and milder |
Wood is also available in different forms, including chips, chunks, and logs. Smaller pieces can suit shorter smoking sessions, while larger pieces are useful for longer cooks.
Keep smoker temperature steady
Temperature consistency is more important than simply producing a large amount of smoke.
Use a reliable thermometer and learn how the vents affect airflow. Opening vents increases oxygen flow and can raise the temperature, while reducing airflow can lower the heat.
A water pan can also help regulate the cooking environment and add moisture.
For additional flavor, smoking can be combined with grilling or roasting: smoke the food first and then finish it with higher heat for additional texture.
Cook With Glowing Embers
Open-fire cooking does not always mean cooking directly over tall flames.
In many cases, embers are the real cooking surface.
Once wood has fully burned down, the resulting embers can provide intense, concentrated heat. Wild Classroom recommends having enough firewood to create a substantial ember bed rather than relying on a very small fire.
For approximately one or two people, the article suggests a small fire containing 5–6 small logs. Larger groups require a larger fire and a more substantial bed of embers.
Foods that work well over embers
Ember cooking can work particularly well with:
- Thin steaks
- Lamb
- Venison
- Fish
- Sweetcorn
- Leeks
- Onions
- Pineapple
- Peppers
- Asparagus
- Flatbreads
A particularly useful example is the dirty onion technique. A large onion can be placed directly into hot embers and cooked for approximately 15–20 minutes, turning it during the process. The burnt outer layers are removed before eating.
Pineapple takes approximately 30 minutes, while thin flatbread can cook in a matter of seconds because of the intense heat.
Manage your embers
Ember cooking requires active heat management.
If the food blocks airflow, move it around to expose it to more heat. A blowpipe can increase airflow and heat, but it can also cause the remaining wood and embers to burn faster.
When cooking is finished, rake the embers outward to help them cool before extinguishing the remaining fire with water where appropriate.
Grill Over an Open Fire
An open-fire grill gives you many of the familiar benefits of barbecue cooking while allowing you to work directly with a wood fire.
Wild Classroom describes 2 main grill styles:
- A grill attached to a tripod that can be raised or lowered.
- A Chapa that sits above the fire.
The height of a tripod grill gives you another way to control heat. Raising the cooking surface increases the distance from the fire, while lowering it increases the intensity.
Prepare the fire first
Do not start cooking immediately over a young fire full of flames and smoke.
Instead:
- Establish the fire.
- Split large logs into smaller pieces.
- Allow the cooking surface to heat.
- Add fuel gradually during longer cooking sessions.
Wild Classroom recommends giving a grill or Chapa at least 10 minutes to warm before cooking.
Once the cooking surface is properly hot, open-fire grilling works well for foods such as:
- Fillet steak
- Venison
- Lamb kebabs
- Courgettes
- Lettuce
- Asparagus
- Spring greens
Make a Dutch Oven Part of Your Setup
A Dutch oven is one of the most versatile pieces of outdoor cookware because it can handle meals that benefit from longer, steadier cooking.
Camping and Outdoor Life recommends using a Dutch oven for stews, braises, and bread, while Wild Classroom uses Dutch ovens over an open fire for dishes such as soup and chilli.
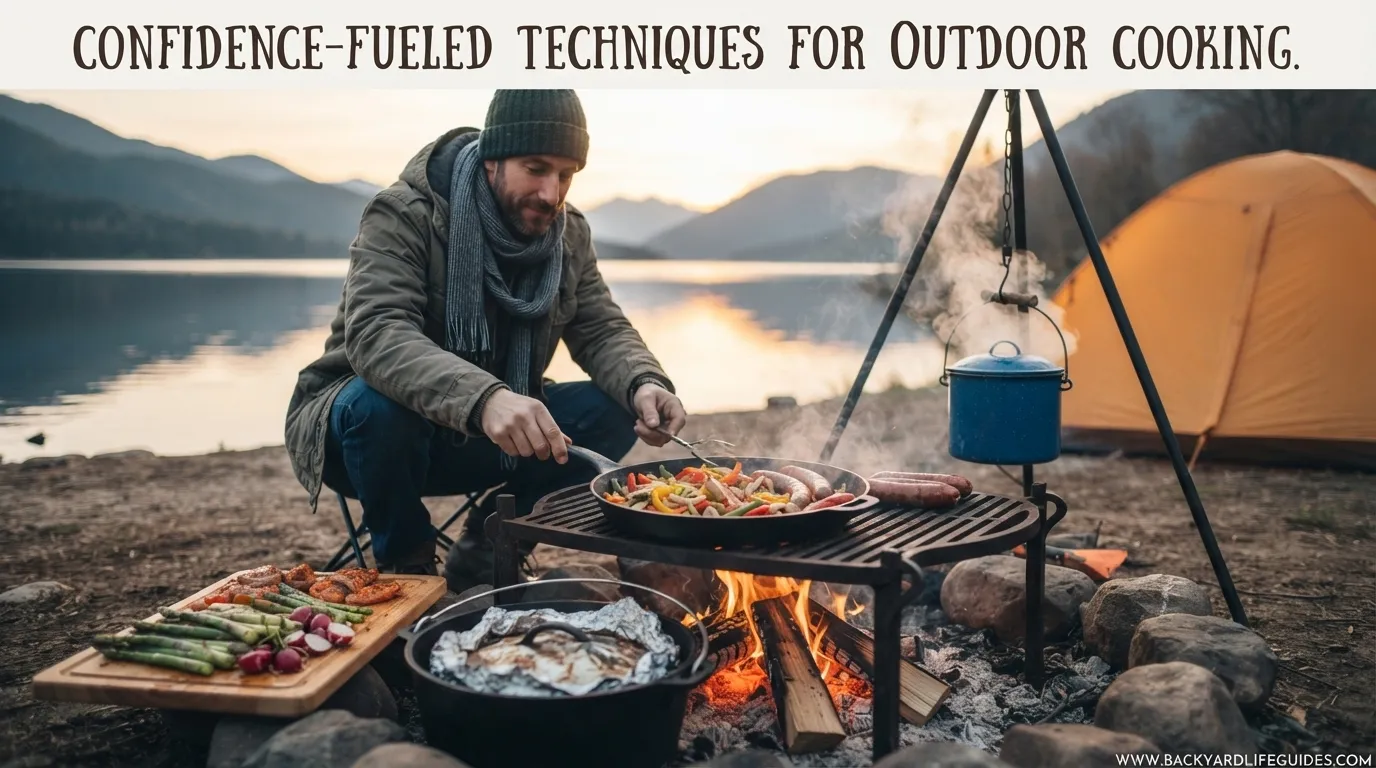
A common setup is to suspend the Dutch oven from a tripod above the fire.
The basic idea is straightforward:
Fire provides heat → tripod controls height → pot contains the food.
If the fire becomes stronger, raise the pot. If more heat is required, lower it or add fuel as appropriate.
What can you cook?
A Dutch oven can be used for:
- Stews
- Soups
- Beef chilli
- Vegan chilli
- Braises
- Bread
- Vegetable dishes
It is especially useful when you want a meal that can cook gradually while you focus on other parts of the outdoor experience.
Use the Right Equipment
You do not need a huge collection of gear to begin, but a few pieces can make outdoor cooking safer and easier.
| Equipment | Main purpose |
|---|---|
| Tongs | Handling and turning food |
| Spatula | Moving suitable foods |
| Grill brush | Cleaning grates |
| Meat thermometer | Checking doneness |
| Heat-resistant gloves | Protecting hands |
| Grill grate | Direct open-fire cooking |
| Cast iron skillet | Frying and sautéing |
| Dutch oven | Stews and slow cooking |
| Smoker | Controlled smoking |
| Tripod | Supporting cookware above fire |
Camping and Outdoor Life also identifies a fire extinguisher and first aid kit as useful safety equipment.
The most important equipment, however, is not necessarily the most expensive. Good heat control, reliable tools, and a thermometer can often improve your results more than simply buying additional accessories.
Try Different Open-Fire Cooking Methods
A grill is only one way to cook over an open fire.
Camping and Outdoor Life describes several alternatives, including direct grilling, skillet cooking, Dutch oven cooking, rotisserie cooking, plank cooking, and ash cooking.
Direct grilling
Place a grill grate above the fire and cook food directly over the heat.
This works particularly well for steaks, vegetables, and skewers.
Skillet cooking
A cast-iron skillet provides more controlled cooking for foods that should not sit directly on a grill grate.
It can be used for frying and sautéing.
Rotisserie cooking
Food is secured to a spit and rotated above the fire, allowing gradual cooking and helping create a browned exterior.
Plank cooking
Food is placed on a wooden plank, allowing the cooking process to introduce a smoky, woody character.
Ash cooking
Food can be wrapped in foil or leaves and placed directly into hot ashes. This is a more primitive technique and requires careful heat management.
Build a Better Outdoor Cooking Fire
The fire itself is part of your cooking equipment.
Choose a safe cooking location away from overhanging branches and use a non-flammable surface. Camping and Outdoor Life recommends dry, seasoned wood and identifies hardwoods such as oak and maple as useful for producing longer-lasting heat.
A simple fire-building progression is:
- Start with kindling.
- Add progressively larger pieces of dry wood.
- Establish a stable fire.
- Allow the heat to develop.
- Spread or concentrate coals depending on the cooking method.
- Add fuel gradually when needed.
Avoid trying to cook everything over the largest flames. Strong flames are not automatically better cooking heat.
For ember cooking and some open-fire techniques, controlled glowing coals can be more useful than tall flames.
Manage Flare-Ups Without Panicking
Flare-ups commonly happen when dripping fat reaches a strong heat source.
Trimming excess fat can reduce the amount of grease reaching the flames.
If a flare-up develops:
- Move food away from the strongest heat.
- Reduce the available oxygen where appropriate.
- Close the grill lid if your grill design allows it.
- Keep suitable fire-control equipment nearby.
Camping and Outdoor Life specifically recommends keeping water available for sudden flare-ups and closing the lid when flames become excessive.
The goal is controlled heat, not maximum flames.
Food Safety Should Be Part of the Technique
Great outdoor cooking is not only about flavor.
It also requires careful food handling.
Keep raw and cooked food separate to reduce the risk of cross-contamination. Never leave an operating grill unattended, and regularly inspect gas grills for leaks.
A meat thermometer is another valuable tool because appearance alone does not always tell you whether thicker food has reached a safe level of doneness. My Backyard Life specifically recommends a meat thermometer for larger cuts.
Simple safety checklist
- Keep a fire extinguisher accessible.
- Keep water available where appropriate.
- Use heat-resistant gloves.
- Keep raw and cooked foods separate.
- Check gas connections for leaks.
- Never leave the grill unattended.
- Keep the cooking area clear of unnecessary combustible materials.
- Extinguish the fire properly after cooking.
A Simple Outdoor Cooking Workflow
If you are new to outdoor cooking, do not attempt every technique at once.
Use this simple progression:
Step 1 — Prepare the area
Choose a safe, stable cooking location.
Step 2 — Prepare the equipment
Have your grill, tongs, spatula, thermometer, gloves, and other necessary tools ready.
Step 3 — Build or ignite the heat source
Allow charcoal, gas burners, or wood fire to reach suitable cooking conditions.
Step 4 — Preheat
Give the grill approximately 10–15 minutes when using the applicable gas-grill method.
Step 5 — Choose direct or indirect heat
Quick-cooking foods can use direct heat, while thicker foods can benefit from indirect cooking.
Step 6 — Cook without unnecessary movement
Allow the food to develop a crust before turning it.
Step 7 — Check doneness
Use a meat thermometer when needed.
Step 8 — Rest the food
Allow suitable meats to rest after grilling so their juices can redistribute.
Step 9 — Clean up
Clean the cooking surface and safely extinguish the fire.
Outdoor Cooking Timing Guide
| Food or task | Approximate time/detail |
|---|---|
| Gas grill preheating | 10–15 minutes |
| Open-fire grill/Chapa warming | At least 10 minutes |
| Small ember fire | 5–6 small logs |
| Dirty onion over embers | 15–20 minutes |
| Pineapple over embers | About 30 minutes |
| Flatbread over intense embers | A matter of seconds |
| Recommended meat turning | Once |
Common Outdoor Cooking Mistakes
Starting before the grill is hot
A cold or insufficiently heated cooking surface can lead to sticking and weak browning.
Cooking directly over uncontrolled flames
Large flames can quickly char the outside while leaving the inside undercooked.
Constantly flipping food
Repeated movement makes it harder to develop a good crust.
Ignoring temperature
Visual judgment is useful, but a thermometer provides much more reliable information.
Using too little firewood for ember cooking
A tiny fire may produce too few embers for the cooking task. Wild Classroom specifically notes that a somewhat larger fire may be necessary to create enough usable embers.
Overloading the grill
Crowding makes heat management more difficult and reduces your ability to move food away from flare-ups.
Forgetting cleanup
Food residue can contribute to sticking, flare-ups, unwanted flavors, and grill deterioration.
Quick Outdoor Cooking Cheat Sheet
For quick grilling:
Preheat → create direct heat → sear → turn once → check doneness → rest.
For thick cuts:
Preheat → establish direct and indirect zones → sear → move to indirect heat → monitor temperature → rest.
For smoking:
Choose wood → maintain steady heat → control vents → monitor temperature → cook slowly.
For ember cooking:
Build enough fire → create a substantial ember bed → place suitable food directly on/near embers → move food as needed → cool and extinguish afterward.
For Dutch oven cooking:
Build an established fire → suspend the pot from a tripod → adjust height → maintain the fire → cook gradually.
Frequently Asked Questions
How long should I preheat a gas grill?
A gas grill should generally be preheated for about 10–15 minutes before cooking. This allows the grates to become sufficiently hot for searing and more consistent cooking.
Should I cook directly over flames?
Not always. Direct heat works well for quick-cooking foods, while indirect heat is better suited to thicker foods that need slower cooking.
How many logs are needed for a small ember fire?
For one person and possibly one additional person, Wild Classroom suggests approximately 5–6 small logs to create a suitable small fire. Larger groups require a larger ember bed.
How long does an onion take to cook in embers?
A large onion can take approximately 15–20 minutes when cooked in hot embers, with turning during the process.
Can you cook pineapple over embers?
Yes. Pineapple is specifically listed as an ember-cooking option and takes approximately 30 minutes according to the Wild Classroom technique.
What is indirect grilling?
Indirect grilling means placing food beside rather than directly over the strongest heat source. It is useful for thicker foods and slower cooking while helping reduce excessive flare-ups and charring.
What wood is good for smoking?
The guide identifies hickory and mesquite as stronger-flavored woods, while apple and cherry provide sweeter, milder flavors.
What equipment is most useful for beginners?
Start with a suitable grill or cooking surface, tongs, a spatula, heat-resistant gloves, and a meat thermometer. A grill brush and appropriate fire-safety equipment are also valuable.
Can a Dutch oven be used over an open fire?
Yes. A Dutch oven can be suspended from a tripod over an open fire and used for stews, soups, chilli, braises, and other slow-cooked meals.
Final Thoughts
Confidence in outdoor cooking does not come from owning the biggest grill or knowing hundreds of recipes. It comes from understanding a few repeatable principles.
Preheat your cooking surface. Control the temperature. Choose direct or indirect heat based on the food. Give meat time to develop a crust instead of constantly flipping it. Use embers when you want intense, concentrated heat. Try a Dutch oven for meals that need slow cooking. Most importantly, keep your cooking area clean and your fire under control.
Once these fundamentals become familiar, you can move naturally among grilling, smoking, ember cooking, open-fire cooking, and Dutch oven meals without unnecessarily complicating the process.
Outdoor cooking should feel less like a battle with the fire and more like learning how to work with it.