
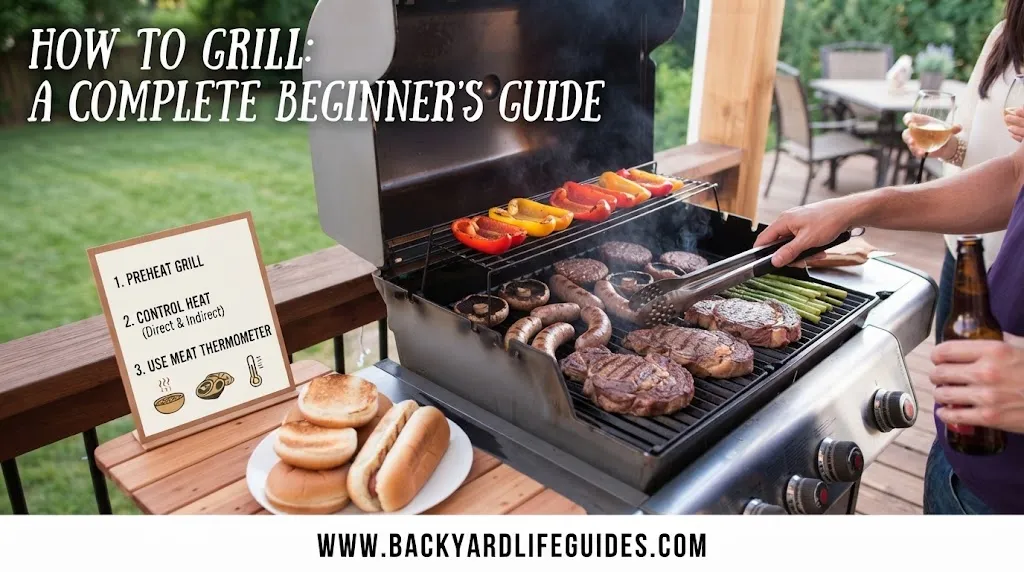
How to Grill: A Complete Beginner’s Guide to Grilling
How to Grill: Beginner’s Guide
- Disclosure: This post may include affiliate links. If you click a link and complete a purchase, I may earn a commission. Additionally, as an Amazon Associate, I earn from eligible purchases.
Grilling becomes much easier when you understand a few basic principles: how to prepare the grill, when to use direct or indirect heat, how to control temperature, when to flip food, and how to know when it is actually done.
Whether you are using a gas grill or a charcoal grill, you do not need complicated techniques to get started. The key is controlling heat and giving your food enough time to cook properly.
This guide brings together the most useful beginner grilling techniques into one practical process, with specific times, temperatures, measurements, and grilling methods you can actually use.
What You Need Before You Start Grilling
A good grilling session starts before the food touches the grate.
You do not need every grilling gadget available, but a few basic tools make the process considerably easier.
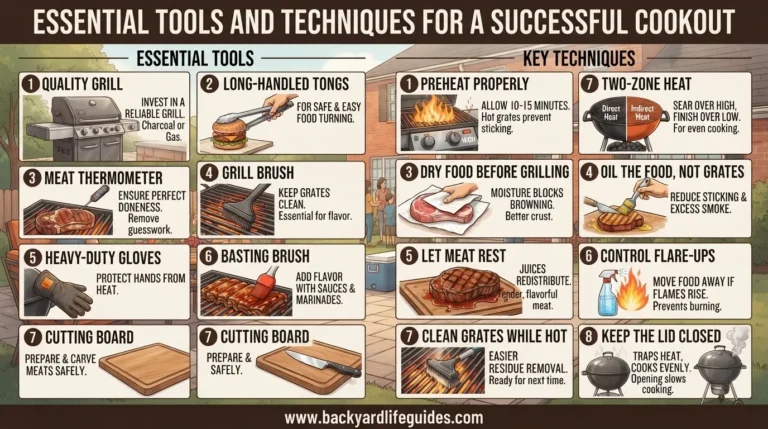
Essential grilling tools
| Tool | Why You Need It |
| Long-handled tongs | Turning and moving food safely |
| Instant-read thermometer | Checking internal temperature |
| Grill brush | Cleaning the cooking grates |
| Timer | Keeping track of cooking time |
| Basting brush | Applying sauces or marinades |
| Heavy-duty aluminum foil | Wrapping food or creating cooking barriers |
| Grill basket | Cooking smaller vegetables |
| Chimney starter | Lighting charcoal efficiently |
| Long matches or grill lighter | Lighting when necessary |
| Hot pads or grill gloves | Protecting your hands |
Of these, a meat thermometer is one of the most useful because appearance alone is not always a reliable indication that meat has finished cooking.
Step 1: Prepare Your Grill
Before lighting the grill, make sure the cooking area is clean.
Remove leftover food and buildup from the grates. Once the grill is heated, brush the grates again before cooking.
For a gas grill, open the lid before ignition. Then follow the lighting procedure recommended for your particular grill.
For charcoal, arrange the charcoal so you can create the heat level and cooking zones you need.
How long should you preheat a grill?
For many gas-grill setups, 10–15 minutes is a useful preheating range.
Some gas-grill instructions use temperatures around 500–550°F for preheating before adjusting the burners for cooking.
The important point is not simply to turn the grill on and immediately add food. Give the cooking grates time to become properly hot.
Step 2: Choose Gas or Charcoal
Both gas and charcoal grills can produce excellent food, but they behave differently.
Gas grill
A gas grill is particularly convenient for beginners because:
- It heats relatively quickly.
- Temperature can be adjusted using burner controls.
- Different burners can create different heat zones.
- It is convenient when you want predictable heat.
Charcoal grill
Charcoal gives you more direct interaction with the fire.
You need to manage:
- Charcoal placement
- Airflow
- Grill vents
- Heat zones
- Lighting time
A chimney starter can take approximately 30–45 minutes in the beginner process described by The Kitchn, while another charcoal setup can have briquettes fully lit in around 15–20 minutes, depending on the charcoal and lighting method.
Once charcoal is properly hot and covered with ash, it can be arranged for cooking.
Step 3: Understand Direct Heat vs. Indirect Heat
This is one of the most important concepts in learning how to grill.
Direct heat
Direct grilling means placing food directly above the heat source.
It works especially well for foods that cook relatively quickly, such as:
- Burgers
- Steaks
- Hot dogs
- Fish
- Chicken breasts
- Thin cuts
- Vegetables
The general guideline from the material is that foods taking around 20 minutes or less are good candidates for direct heat.
Indirect heat
With indirect grilling, food is positioned beside rather than directly over the main heat source.
It is better suited to:
- Whole chickens
- Ribs
- Roasts
- Thick cuts
- Large pieces of meat
It can also be used to finish thicker foods after they have been browned over direct heat.
The simple rule
Fast and thin → direct heat
Large and slow → indirect heat
This one distinction can prevent many common grilling mistakes.
For a visual explanation of direct and indirect grilling, Weber’s direct and indirect grilling guide is a useful reference.
Step 4: Create a Two-Zone Fire
A two-zone setup is especially useful when grilling with charcoal.
Place the hot charcoal on one side of the grill and leave the other side without charcoal.
You now have:
Hot zone: direct cooking and searing
Cool zone: indirect cooking and moving food away from intense heat
This setup gives you more control.
For example, you can sear a thick steak over direct heat and then move it to the cooler side to finish cooking.
It is also useful when a flare-up starts. Instead of leaving the food directly over the flames, move it to the indirect side.
Step 5: Control Your Grill Temperature
Temperature control is more important than simply following a fixed cooking time.
Useful temperature ranges from the material
| Food | Approx. Grill Temperature | Useful Cooking Information |
| Burgers | 400°F | About 4–5 minutes searing |
| Steak | 400°F | About 2–3 minutes per side before indirect finishing |
| Chicken | 350–450°F | Sear about 3–4 minutes per side |
| Pork chops | 375–400°F | About 12–14 minutes total |
| Whole chicken | — | About 60 minutes covered, then check regularly |
| Chicken wings | — | About 8–10 minutes after searing |
These are guideposts, not universal cooking guarantees. Grill models, food thickness, weather and starting temperature can change the actual cooking time.
Step 6: Keep the Grill Lid Under Control
One common beginner mistake is opening the lid repeatedly.
Every time you open it, heat escapes.
For thicker foods that need more time, keeping the lid closed helps maintain a consistent cooking environment.
For thinner foods that cook quickly, you may need to open it only when turning or checking the food.
A useful guideline from the beginner material is:
- 3/4 inch or less: the lid can remain open more often.
- More than 3/4 inch: closing the lid helps trap heat and cook more evenly.
Think of the closed grill as creating an oven-like environment around the food.
Step 7: Know When to Flip
You do not need to constantly turn food.
Let the food develop a proper sear and release naturally from the grate.
If meat sticks when you first try to turn it, give it another 1–2 minutes rather than forcing it.
For steaks
One provides a memorable 3-3-2-2 method:
- Grill for 3 minutes.
- Flip.
- Grill for 3 minutes.
- Flip.
- Grill for 2 minutes.
- Flip.
- Grill for 2 minutes.
The exact result will still depend on steak thickness, grill temperature and desired doneness.
For burgers and chicken
A simple approach is generally to avoid repeatedly flipping them. Allow one side to cook properly before turning.
Step 8: Don’t Press Down on Your Meat
This is a small habit that can make a noticeable difference.
Avoid smashing burgers or pressing steaks and chicken with a spatula.
Pressing the meat can force juices out before the food has finished cooking.
Instead, let the heat do the work.
Flip gently. Don’t squeeze.
Step 9: Grill More Than Meat
A grill can be much more versatile than burgers and steaks.
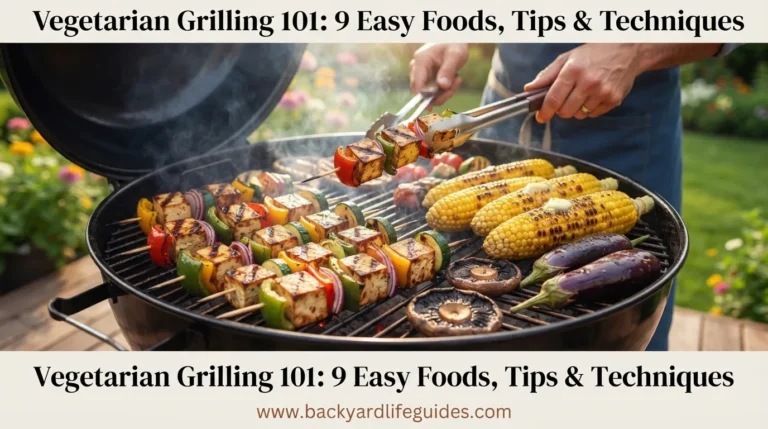
You can grill:
- Corn
- Peppers
- Zucchini
- Asparagus
- Vegetables
- Pizza
- Garlic bread
- Peaches
- Lemons
- Pineapple
- Fruit
- Fruit crisps or cobblers
A grill basket is particularly useful for smaller vegetables that could otherwise fall through the cooking grate.
This is also a good way to build a complete meal on the grill rather than treating it as a meat-only cooking appliance.
Step 10: Use a Thermometer Instead of Guesswork
A timer tells you how long food has been cooking.
A thermometer tells you what is happening inside.
That distinction matters.
grilling guides provide these examples:
| Food | Example Internal Temperature |
| Burger | 160°F |
| Chicken | 165°F |
| Pork chops | 145°F |
| Chicken wings | 175°F |
Use these figures as the specific temperature guidance from the material, and remember that thickness and cooking conditions affect how quickly food reaches its target.
The thermometer is especially helpful when you are still learning how your particular grill behaves.
Step 11: Give Meat Time to Rest
Taking meat directly from the grill to the cutting board is another common mistake.
Allowing it to rest gives the meat time to settle before cutting.
Recommended resting times
| Size of Meat | Resting Time |
| Small cuts | 5–10 minutes |
| Large cuts | 10–20 minutes |
| Steak | Around 5 minutes |
| Whole chicken | Around 15 minutes |
For larger pieces, loosely tenting the meat with foil can help retain warmth while it rests.
Step 12: Cut Against the Grain
After resting, pay attention to the direction of the muscle fibers.
Cutting against the grain shortens those fibers and can make meat easier to chew.
This is especially useful for larger cuts where the direction of the grain is easier to see.
Take a moment to identify the grain before making your first cut rather than slicing immediately.
How to Grill a Steak
Steak is one of the easiest foods for learning the fundamentals of grilling.
Basic process
- Prepare and season the steak.
- Allow it to come toward room temperature before grilling, following the preparation approach in the guidance.
- Preheat the grill.
- Clean the grates.
- Place the steak over direct heat.
- Sear the first side.
- Flip according to your preferred method.
- Move a thick steak to indirect heat if it needs more time.
- Check the internal temperature.
- Remove it from the grill.
- Rest for approximately 5 minutes.
- Cut against the grain where appropriate.
For thicker steaks, combining direct and indirect heat can provide a strong exterior sear while allowing the center to finish more gently.
How to Grill Burgers
For burgers, start with properly shaped patties and a preheated grill.
A example uses approximately 6-ounce patties, around 3/4 inch thick, at about 400°F, with approximately 4–5 minutes of searing.
The key is not to press the burger while it cooks.
Once the first side has developed a good crust, flip it and continue cooking until the appropriate internal temperature is reached.
For the example, that target is 160°F.
How to Grill Chicken
Chicken benefits from careful heat management because thicker pieces need enough time to cook through without burning the outside.
A example recommends:
- 350–450°F grill temperature
- About 3–4 minutes per side for the initial sear
- Approximately 165°F internal temperature
- Around 5 minutes resting time
For larger chicken pieces, indirect cooking can help the center cook more gently.
How to Grill a Whole Chicken
Whole chicken is a good example of why indirect heat matters.
A example uses a 4–5 lb chicken, cooked covered for approximately 60 minutes, then checked every 10–15 minutes.
An average 4 lb chicken may take approximately 90 minutes in that example.
The stated internal target is 165°F, followed by approximately 15 minutes of resting.
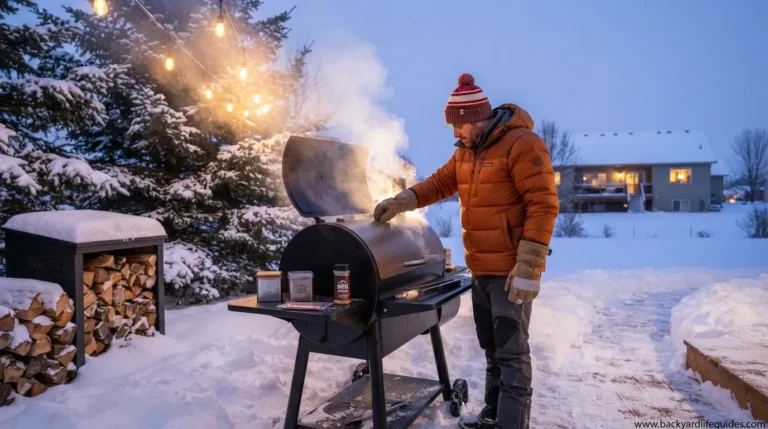
How to Grill in Winter
Grilling does not have to stop when temperatures fall.
The winter-focused recommends making the grill more convenient to access by moving it closer to the back door during colder months.
However, do not place the grill so close to the house that heat can damage siding or other materials.
Pay attention to wind
Wind can make grilling more difficult.
Instead of positioning the grill solely for convenience, consider the direction of wind gusts. Moving it around a corner or into a naturally protected position can reduce exposure.
The winter also discusses creating a more protected, greenhouse-like environment around the cooking area.
If you use any temporary structure around a grill, proper ventilation is essential. Never turn an outdoor grill into an enclosed cooking space.
Charcoal Temperature Control
Charcoal grilling becomes much easier once you understand the relationship between oxygen and heat.
More oxygen generally makes the fire burn hotter and faster.
Less airflow slows the fire.
The grill vents therefore play an important role in temperature management.
A two-zone charcoal setup also gives you a practical way to move food between intense direct heat and gentler indirect heat.
When additional charcoal is added to an established fire, the material gives approximately 15 minutes as an example for new unlit coals to light fully.
Common Grilling Mistakes to Avoid
Opening the lid too often
Frequent lid opening allows heat to escape and makes temperature control harder.
Pressing burgers
Pressing meat can push juices out unnecessarily.
Flipping too early
If food is sticking, it may need more time rather than more force.
Ignoring indirect heat
Large cuts can burn on the outside before the center is ready when cooked entirely over direct heat.
Cooking only by time
A recipe’s timing is a guide. Food thickness and grill conditions can change the result.
Forgetting to rest meat
Cutting immediately can work against the texture you are trying to achieve.
Putting a grill too close to the house
Winter grilling is more comfortable when the grill is accessible, but it must remain safely positioned away from heat-sensitive siding and structures.
A Simple Beginner Grilling Workflow
If you want a short process to remember, use this:
1. Clean → 2. Preheat → 3. Choose the heat zone → 4. Prepare the food → 5. Grill → 6. Flip when ready → 7. Check temperature → 8. Rest → 9. Slice
This simple sequence covers most of the fundamentals.
Quick reference
| Stage | What to Remember |
| Prepare | Clean the grill and prepare food |
| Preheat | Give the grill around 10–15 minutes when appropriate |
| Direct heat | Best for quick-cooking foods |
| Indirect heat | Best for larger or slower-cooking foods |
| Two-zone | Keep one hot side and one cooler side |
| Lid | Keep closed when maintaining heat matters |
| Flip | Don’t repeatedly turn food |
| Thermometer | Check internal temperature |
| Rest | 5–10 minutes for small cuts; 10–20 minutes for large cuts |
| Slice | Cut against the grain when appropriate |
FAQs
How long should I preheat a grill?
A common beginner guideline is around 10–15 minutes for a gas grill, although the exact time depends on the grill and desired cooking temperature.
Is gas or charcoal better for beginners?
Gas is generally easier for beginners because the heat can be adjusted directly with the burner controls. Charcoal offers more hands-on temperature management and requires attention to charcoal placement and airflow.
What is the difference between direct and indirect grilling?
Direct grilling places food directly above the heat source. Indirect grilling places food beside the heat source, allowing it to cook more gently.
When should I use indirect heat?
Use indirect heat for larger cuts, whole chickens, ribs, roasts and other foods that require longer cooking.
How do I know when to flip meat?
Allow the food to develop a sear and release naturally from the grate. If it sticks, wait another 1–2 minutes before trying again.
Should I keep the grill lid open or closed?
For thicker foods, keeping the lid closed helps maintain heat and creates an oven-like cooking environment. Thinner foods that cook quickly may require less lid time.
What temperature should a burger reach?
The material uses 160°F as the internal temperature example for burgers.
What temperature should chicken reach?
The material uses 165°F as the internal temperature example for chicken.
How long should steak rest after grilling?
A example recommends approximately 5 minutes of resting for steak.
Can I grill vegetables?
Absolutely. Vegetables such as corn, peppers, zucchini and asparagus can be grilled directly. A grill basket is useful for smaller pieces.
Can I grill during winter?
Yes. The winter-focused specifically recommends adapting grill placement to make cold-weather grilling easier. Keep the grill away from heat-sensitive structures and make sure any protected cooking arrangement has adequate ventilation.
3 Comments